 Retail Advanced Hosting Plans
Register4Less.com offers two types of advanced hosting services. Our regular hosting plans provide web only, email only, and combined web and email hosting on a per domain basis. These are priced between $1.45/month for our entry level 50MB Agate web hosting plan to $11.95/month for our 25GB web, 100 email (200GB space for mail) Topaz Hosting plan. All of these plans feature the cPanel (control panel) interface to manage email and web hosting features. The Trendy Tools web builder is included with all web hosting plans, as is the ability to install WordPress, Joomla, Drupal, PHPbb, PHPList and other applications.
Reseller Advanced Hosting Plans
Our reseller plan allows you to create your own hosting plans, so you can define what disc space is allocation for web and email hosting. The reseller plans start at $24.95 for our Opal 50GB plan and go up to $79.95 for our Onyx 200GB plan.
With the reseller plan, you can sell web hosting plans directly to your customers, or if you have a lot of domains you want to set up, this allows you to host as many as you wish, provided of course that they fit within the space the plan you have selected allows.
Steps for setting up Reseller Hosting
When you purchase a retail hosting plan, the features this plan has are predefined. With reseller hosting, you have the freedom of defining different packages you can sell to your customers or assign to your own domains, but you do first have to create these.
WHM vs cPanel
In addition to the cPanel interface to manage the hosting services for your domain, you will have an additional WHM (Web Host Manager) interface to use to manage the other domain you will be setting up to use your hosting service. To connect to this, log into the domain under which you purchased the reseller hosting package (we’ll call this your reseller domain), and go to Paid Hosting > Web Hosting Manager (WHM).
Defining Packages
The first thing you will want to do once you’ve purchased a reseller hosting plan is to setup your packages. With WHM open, on the left column click on Packages and then the icon for Add a Package. You can at any time create, edit or delete a package. A good example set of features for a hosting package are:
- Disk Quota (MB) – 1,000
- Monthly Bandwidth (MB) – unlimited
- Max FTP Accounts – 10
- Max Email Accounts – 10
- Max Email Lists – 10
- Max Databases – 10
- Max Sub Domains – unlimited
- Max Parked Domains – unlimited
- Max Add-on Domains – 0
- Maximum Hourly Email by Domain Relayed – unlimited
- Maximum percentage of failed or deferred messages a domain may send per hour – unlimited
Under Settings, you’ll want CGI Access selected, and the other options not. Paper lantern is the recommended theme, and choose default for the Feature List.
Once you have completed your settings, make sure you click the blue Save Settings button.
Setting up DNS
When you are adding a domain to your hosting plan, you will need to make sure the DNS is set correctly. This will have been done automatically for your reseller domain, so what we want to do is configure the domain your adding to have the same DNS setup as your reseller domain.
To do this, instead of typing in all of the settings in the custom DNS zone editor, you will use the DNS > Point Domain(s) to Zone function. Once on this page, locate the domain you are adding and check the selection box next to it, and the find the Custom Zone box that has your reseller domain in it. Click the Point to this Zone button in this custom zone box. You can point more than one domain at a time.
Creating a New Account
Now that you have your packages created and DNS set, you’re ready to add the domain to WHM. To do this, click on Account Functions, and then Create a New Account.
You will enter in the name of the domain, the username and password (twice), and an email address for the owner of the domain. You will choose a package from a drop-down list, and should check the option Use the nameservers specified at the Domain’s Registrar. Leave the Local Mail Exchanger option selected and click the blue Create buttons.
For your customer, they can then login to their cPAnel by entering in the name of their domain and append /cpanel or :2083
 With all of our paid hosting platforms, R4L provides you a free digital digital certificate called Let’s Encrypt. The web is quickly moving towards requiring sites to use encryption. When you order an paid hosting plan with R4L, the SSL cert is automatically installed and maintained for you, allowing your website and email to be fully encrypted.

 You may have read that Register4Less.com has added to our paid hosting plans Let’s Encrypt, a free open-source SSL certificate. This certificate is now installed automatically when you order an advanced hosting plan, and has been installed for all existing paid hosting plans.
 If you are one of our customers that uses our Advanced Hosting Platform, you’ll be pleased to know Register4Less has now added PHP version 7.1. PHP is one of the most popular programming languages used on the web today. Sites like Facebook, WordPress, Twitter and Wikipedia all run using PHP.
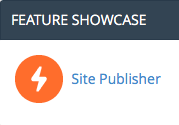 A new feature has been added to our paid hosting platform that allows you to create a simple website with no HTML coding needed. Three different styles of web pages are supported. To access this new feature, connect to your cPanel by going to the menu for Paid Hosting, and then click on Manage Advanced Hosting.
 Our support team often gets complimented that we have the best support in the industry, and that our customers tell their friends and colleagues about us all the time. One of our team has even once been “accused” of cloning himself because he’s always there.
 Unified Logins
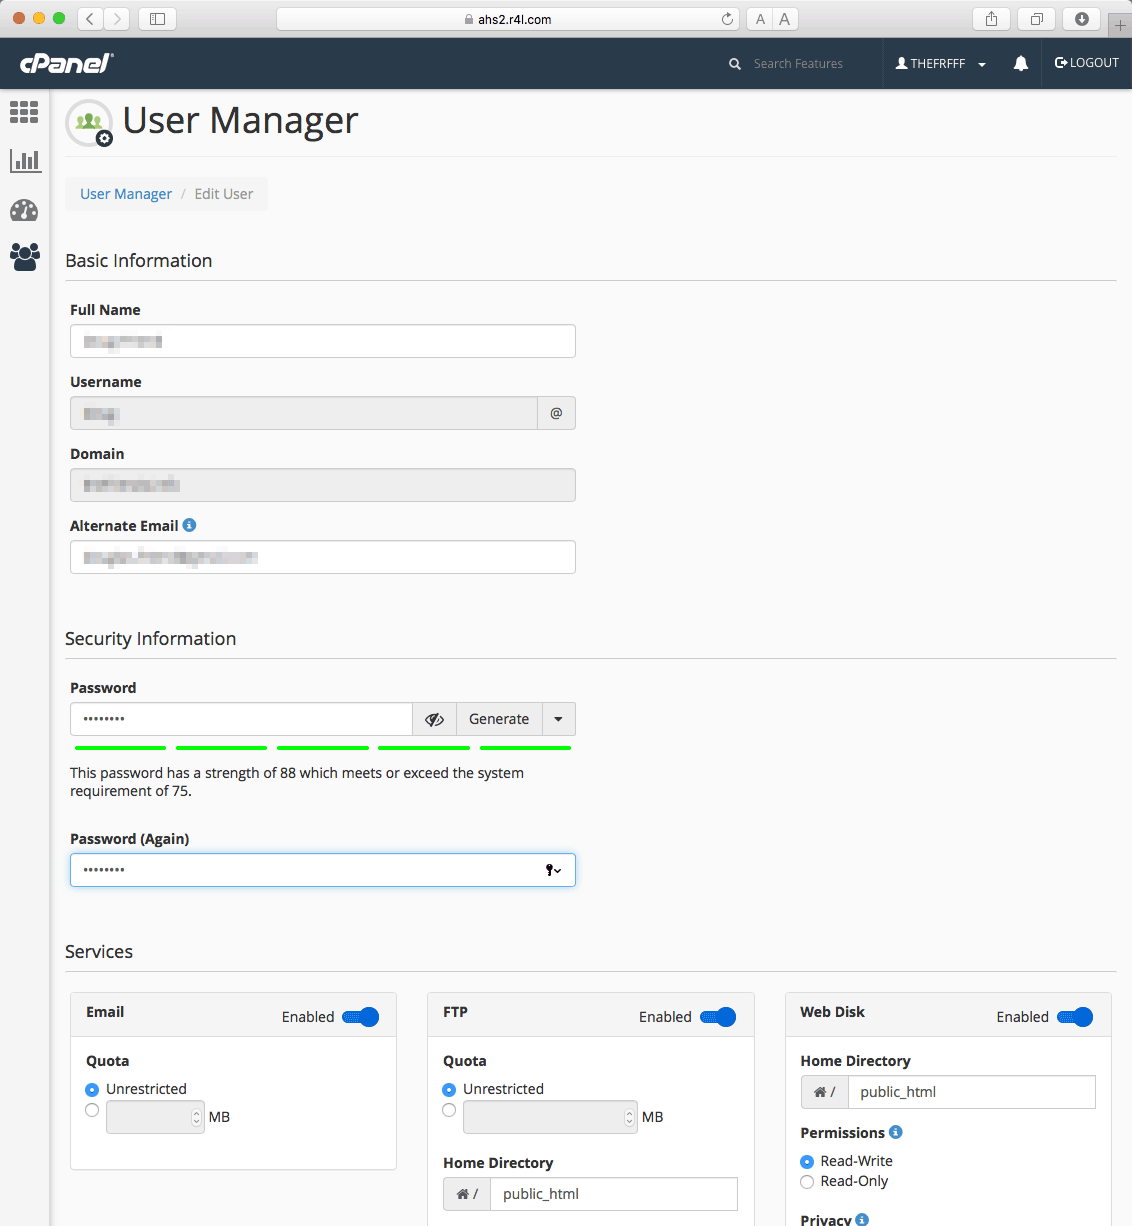
 The User Manager
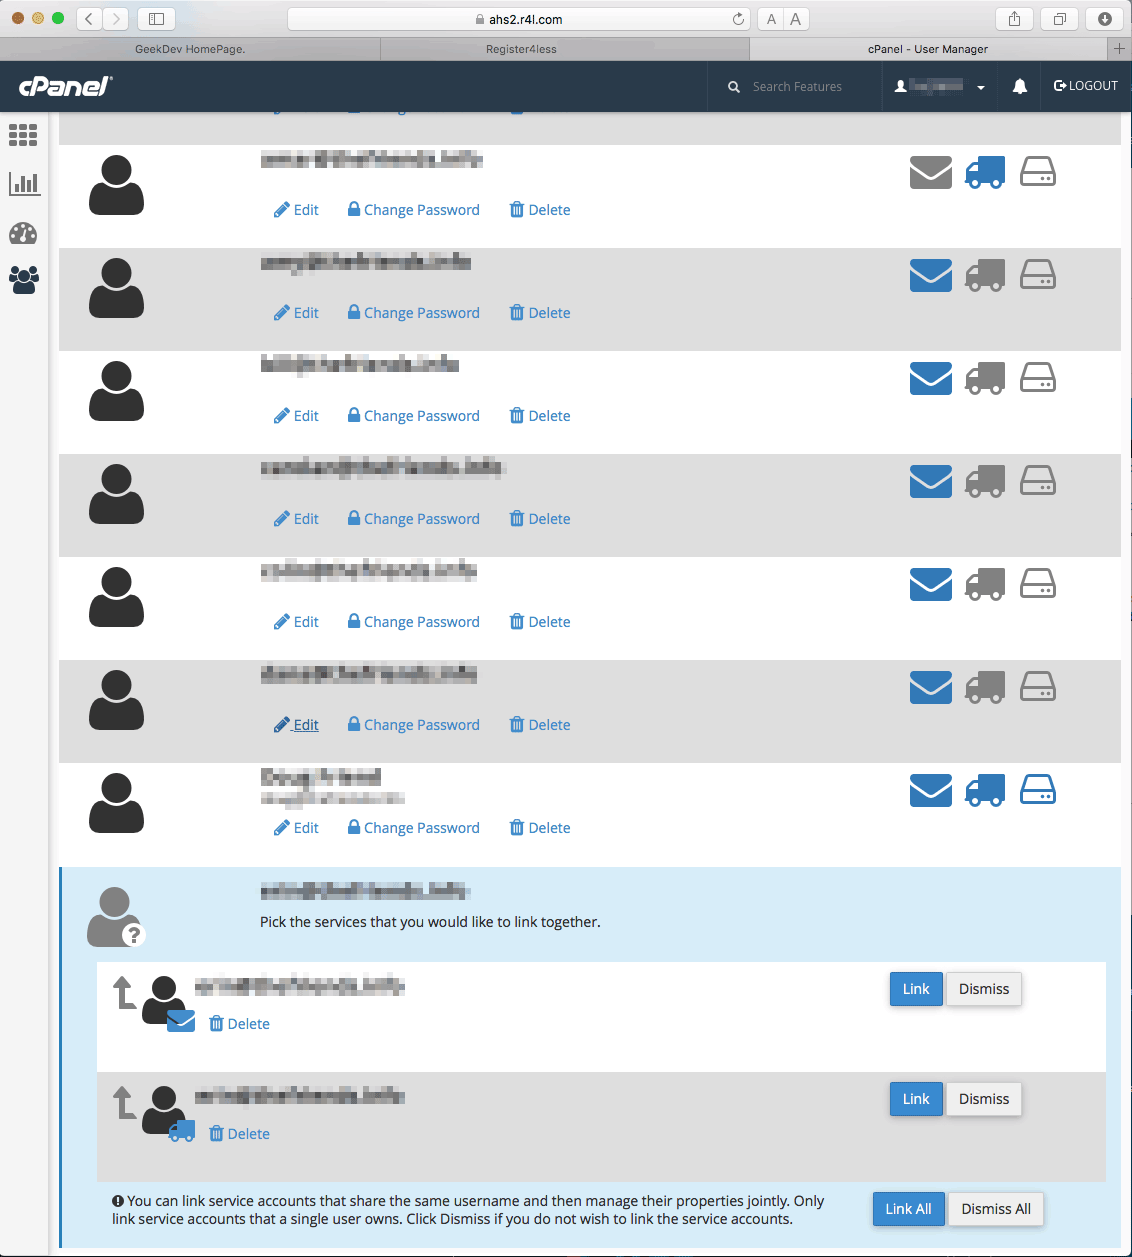
 This is part 1 of a 2 part post.